Our models

Grom Pixel

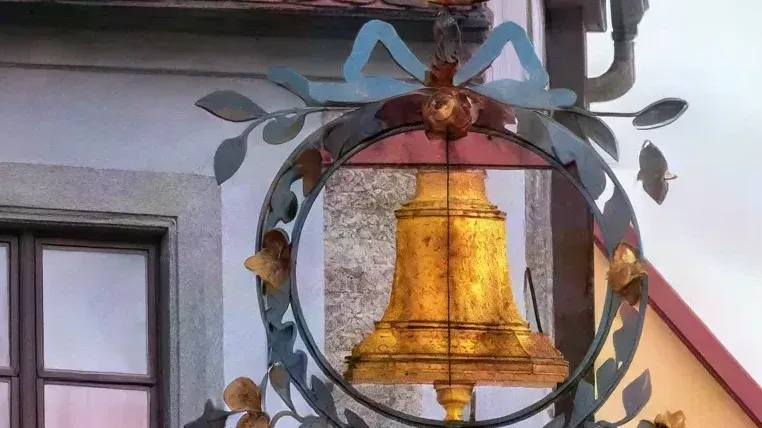
The upscaler of the Grom line: lifts photos to 100 megapixels and rebuilds texture — skin, hair, fabric, letters on a sign. It doesn't stretch pixels, it restores detail.

100 MP
maximum on output
256 px
minimum short side on input
1 click
no presets, no sliders
Pixels as they are

Take the loupe — it shows 100%

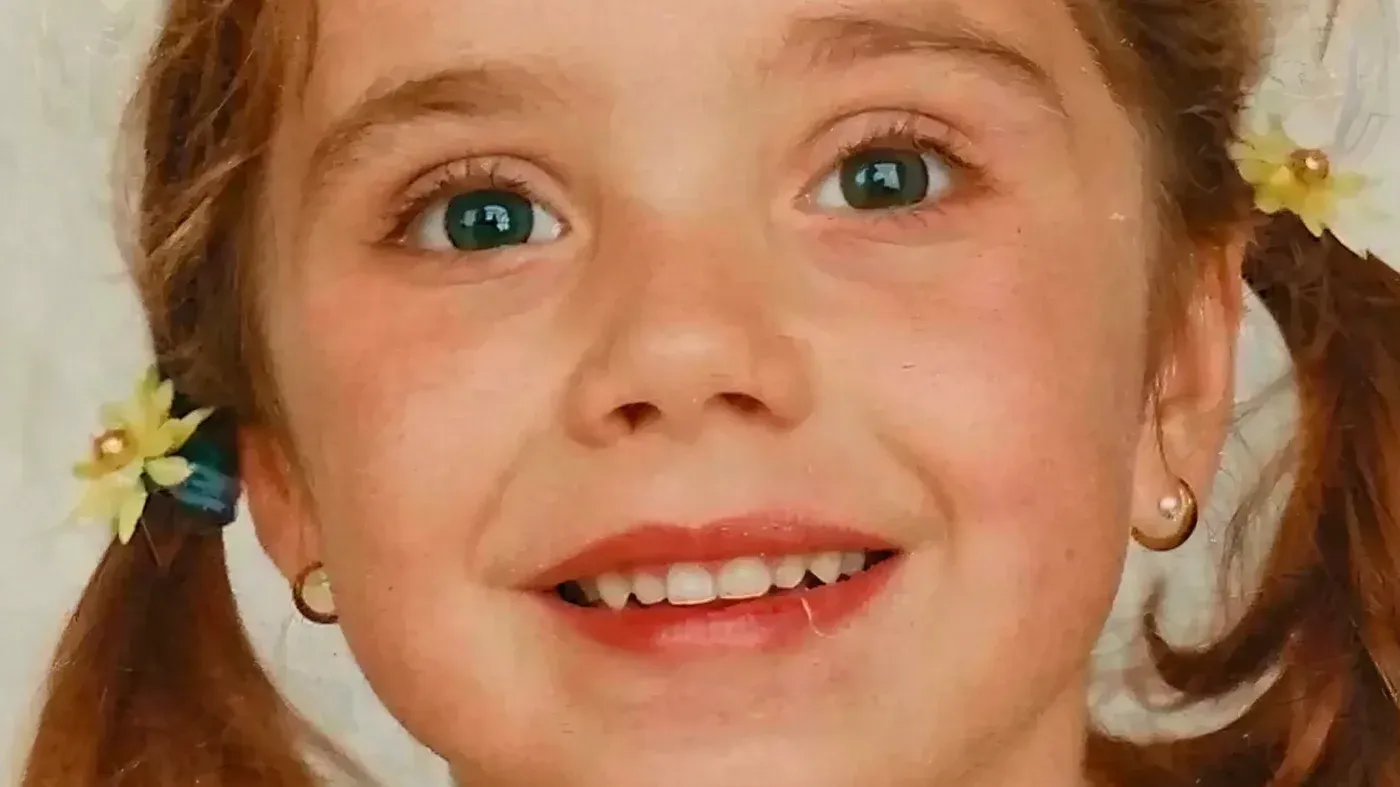
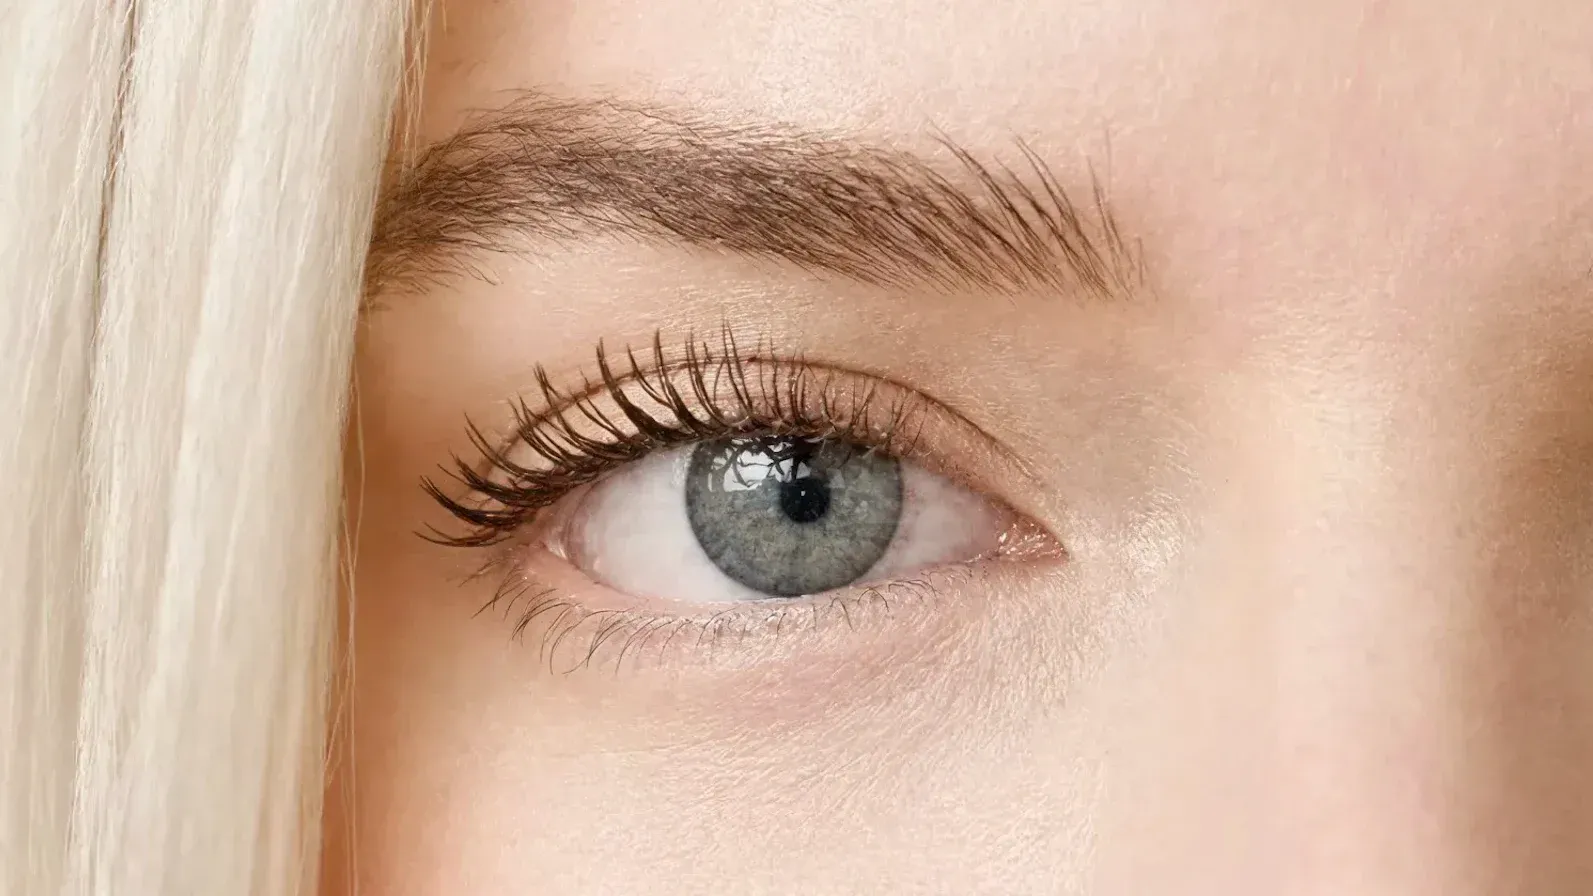
On screen the shot is squeezed to page width, so the upscale is invisible. The loupe shows the real pixels of the result: skin texture, lashes, single hairs. The before/after comparison is right below, in the examples.

Portrait 686 × 386 → 66 MP · ×3 under the loupeMove the cursor — the loupe follows
Portrait 686 × 386 → 66 MP · ×3 under the loupe

No manual sharpening, no denoise: under the loupe the file is exactly as the model returned it.

Why

Upscaling is not stretching

Ordinary enlargement admits it has no new detail: the algorithm averages neighbouring pixels and stretches them. The frame gets bigger, sharpness doesn't — you just get mush. Grom Pixel works differently. It knows what skin, hair, fabric, wood, brick and type look like, and rebuilds texture where the source has only a few pixels left. After processing you can study the shot up close — and print it at a size the original could never carry. The honest flip side: the model doesn't invent what was never in the frame. A face ten pixels wide won't turn into a portrait — Grom Pixel pulls detail out, it doesn't make it up.
Comparison

Grom Pixel vs Topaz

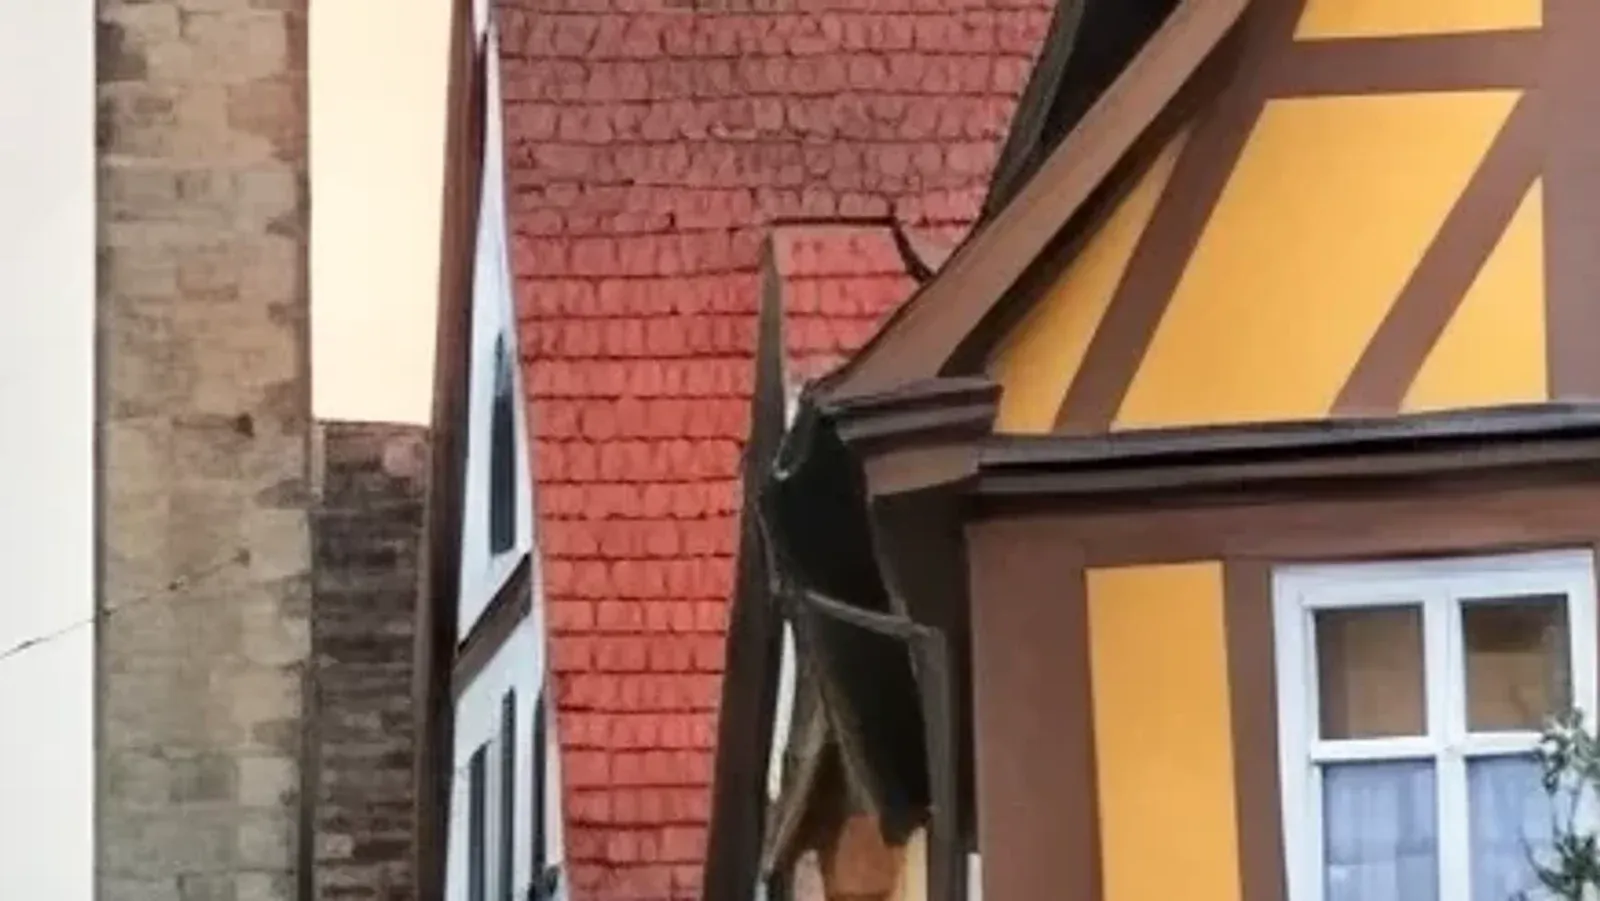
The same source ran through two upscalers. Topaz comes out softer: fine texture — cobbles, the shop window, branches — melts into patches and loses detail. And the worse the source, the more often Topaz slides into plastic: skin, wood and stone turn smooth and cartoonish. Grom Pixel keeps the texture and doesn't repaint the material.

A street: cobbles, a shop window, greeneryTopazGrom Pixel
Head to headA street: cobbles, a shop window, greenerya fragment of the frame · both results from one source

Drag the slider: Topaz on the left, Grom Pixel on the right. The links open both results in full — judge for yourself instead of taking our word.

$0.05 per megapixel

About 16× cheaper than a Topaz job — and with better detail. You pay for the processing itself, not for the right to keep the software around.

  • Pay per job by the platform price list
  • No subscription, no licence, no install
  • One balance for Grom Pixel and the rest of GPTunneL
Input rule

The pixels have to be honest

The model works with what is really in the file. If an image has already been stretched in an editor, it gained no detail — Grom Pixel will get mush on input and carefully enlarge exactly that.

Hand over the source as it is

The file straight from the camera, the scanner or the archive — at the size it was shot.

  1. 650 px originalsmall, but sharp
  2. Grom Pixelthe model sees real pixels
  3. A sharp 40 MP frametexture intact
Don't stretch it before uploading

A resize in Photoshop, an “enlarge 4×” in a viewer, an upscale by another service — all of it breaks the pixel grid.

  1. 650 px original
  2. Stretched to 2600 pxinterpolation: more pixels, no more detail
  3. Grom Pixeltakes the mush for texture
  4. Bigger mushsharpness doesn't come back

If a file has already been resized, put it back to its original size or find the source. That's the only preparation the model needs.

Old photos

Restore first, upscale second

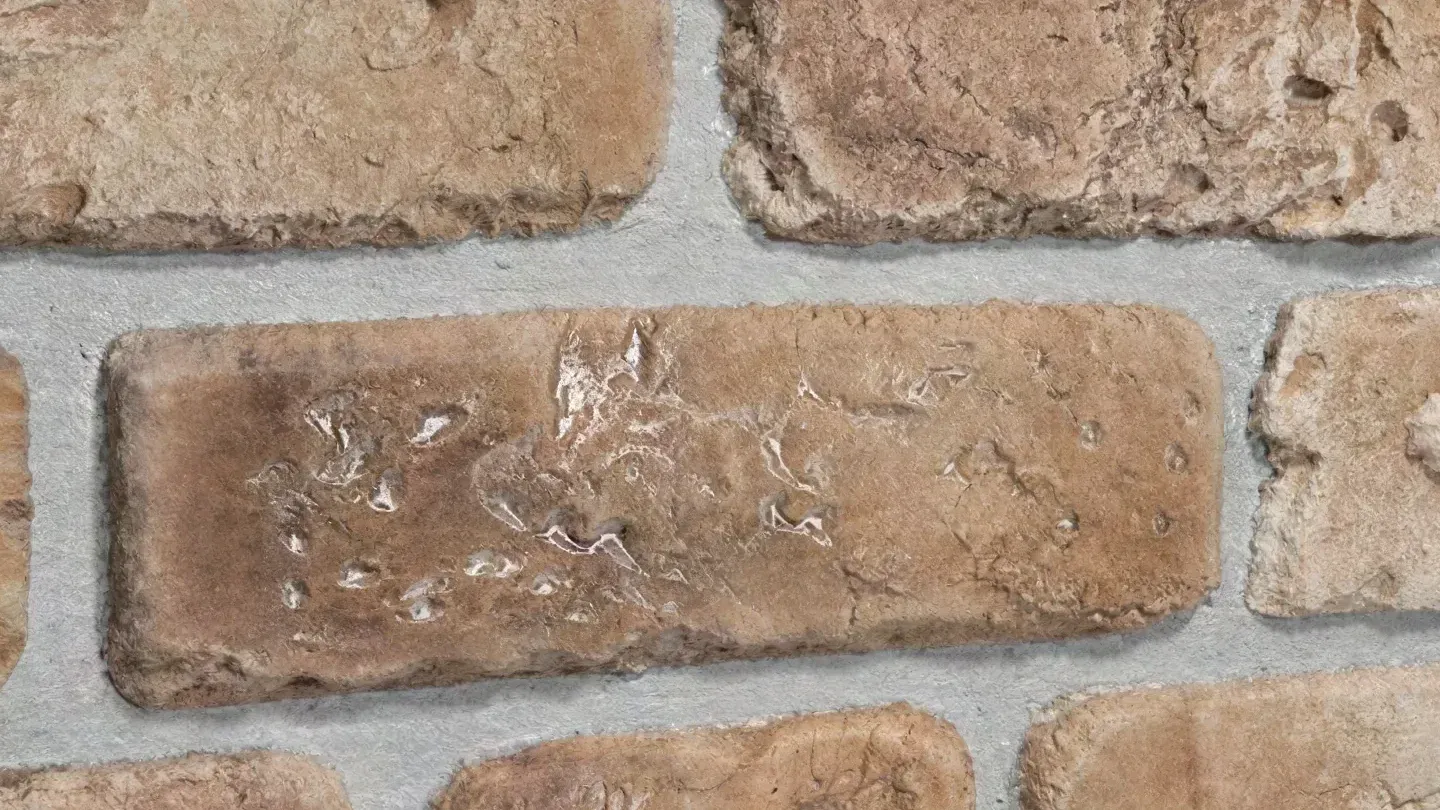
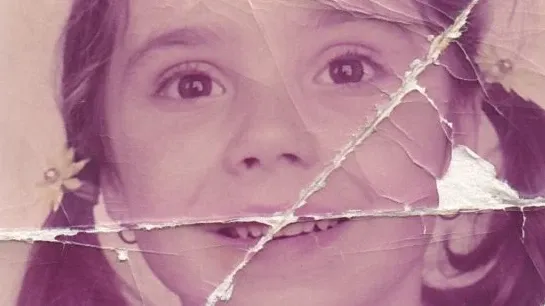
Cracks, creases and paper grain are texture to the model, just like skin. The upscaler will honestly make them crisper: it sees a photo of a print with all its injuries, not your grandmother's portrait.

Scan straight into the upscaler

The model improves everything it sees — including the paper the frame lies on.

  1. Scan with crackscreases, scratches, paper grain
  2. Grom Pixeldamage is detail to it as well
  3. The cracks got crisperthe face too, but the shot is still torn
Grom Art first, then Grom Pixel

Restoration removes the damage, the upscale raises resolution. The order matters.

  1. Scan with cracks
  2. Grom Art · prompt repair photoclears creases, scratches and stains
  3. Grom Pixelraises resolution to print level
  4. A clean 100 MP frameready to print and hang on a wall

The same rule applies to screenshots and over-compressed JPEGs: clear the artefacts first, enlarge second.

Requirements

What the model expects on input

From 256 px on the short side

Below that there is nothing to hold on to. More is better: the more honest the source, the stronger the result.

JPEG, PNG, WebP

Ordinary files straight from a camera, a phone or a scanner — no conversion needed.

Up to 100 MP on output

The model picks the factor for your source itself — there's nothing to calculate by hand.

One click

No presets, no denoise sliders: upload a file, take the result.

Questions about Grom Pixel

Up to 100 megapixels on output. The factor depends on the source: a 1000 × 800 px frame goes up roughly ten times per side, a large shot less — it hits the ceiling sooner.

Everything in one GPTunneL account

Grom models, 200+ neural networks and ready-made AI products. One balance, no subscriptions.