AI tool

Improve photo quality online

Improve photo quality online: the AI lifts sharpness and resolution up to 100 megapixels in ten seconds. Nothing to install, nothing to set up.

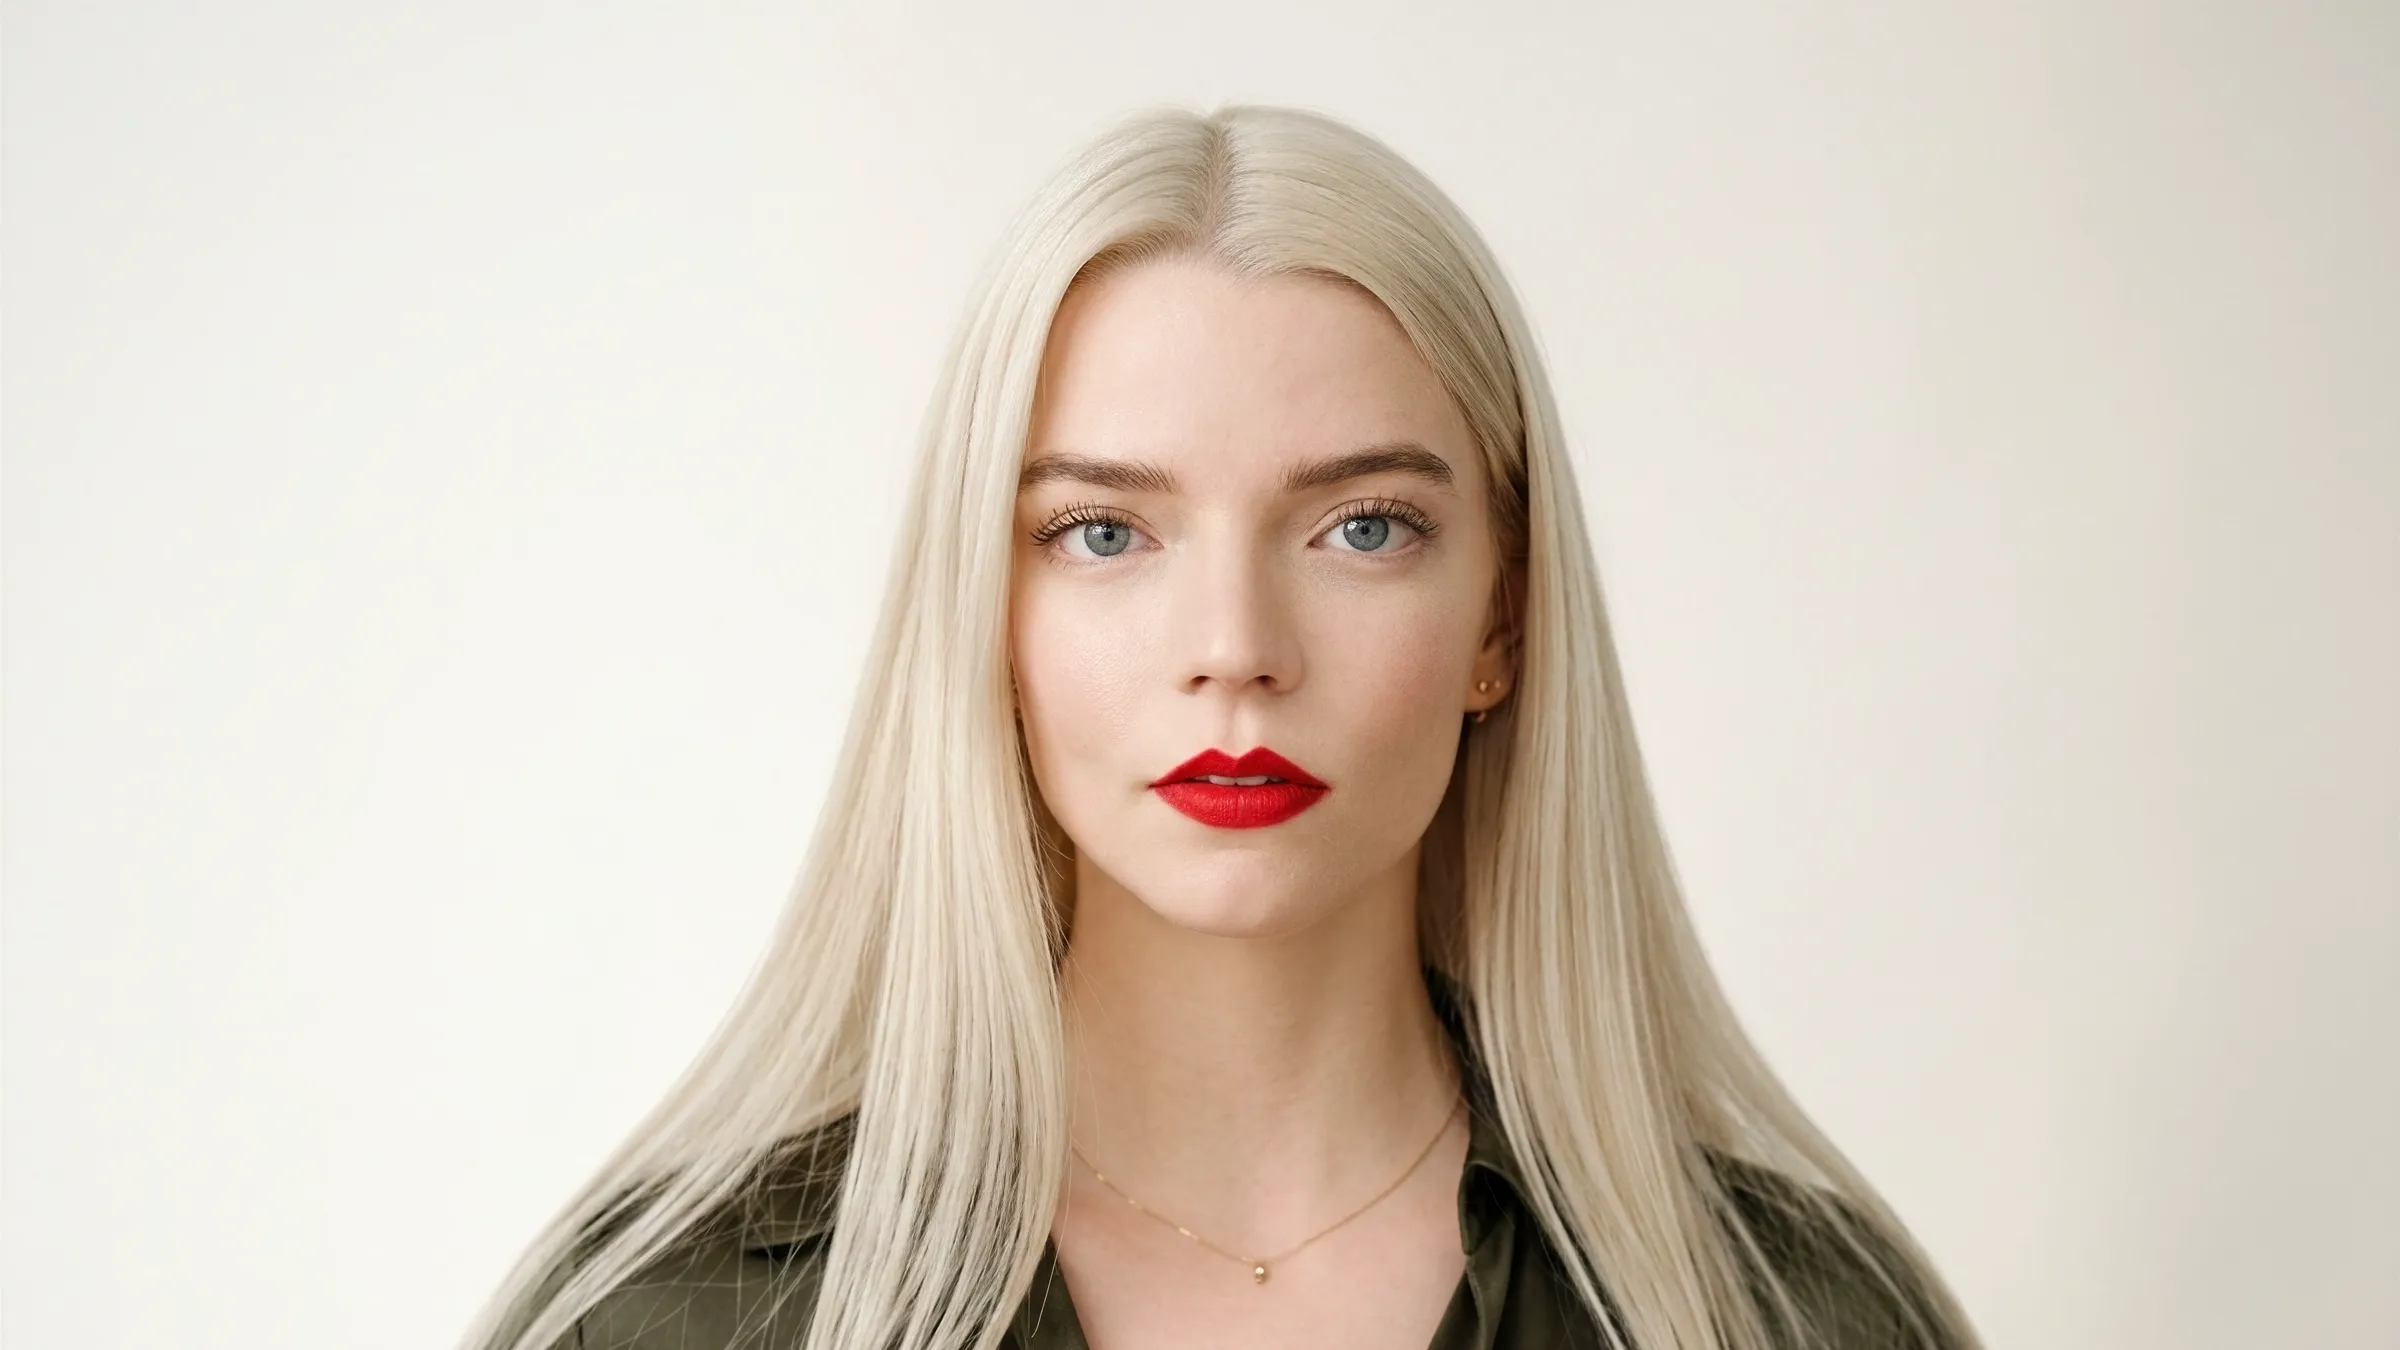
Improving photo quality with AI: before and afterOriginalAfter processing
Drag the slider · original 686 × 386 px, ×10 upscale

Upload a shot — the model clears noise and softness, brings sharpness back and lifts the resolution up to 100 megapixels. It does not stretch pixels, it restores detail: skin, hair, fabric, the letters on a sign. Below are examples, the price, and what the model expects on the way in.
The result

Move the loupe — those are real pixels underneath

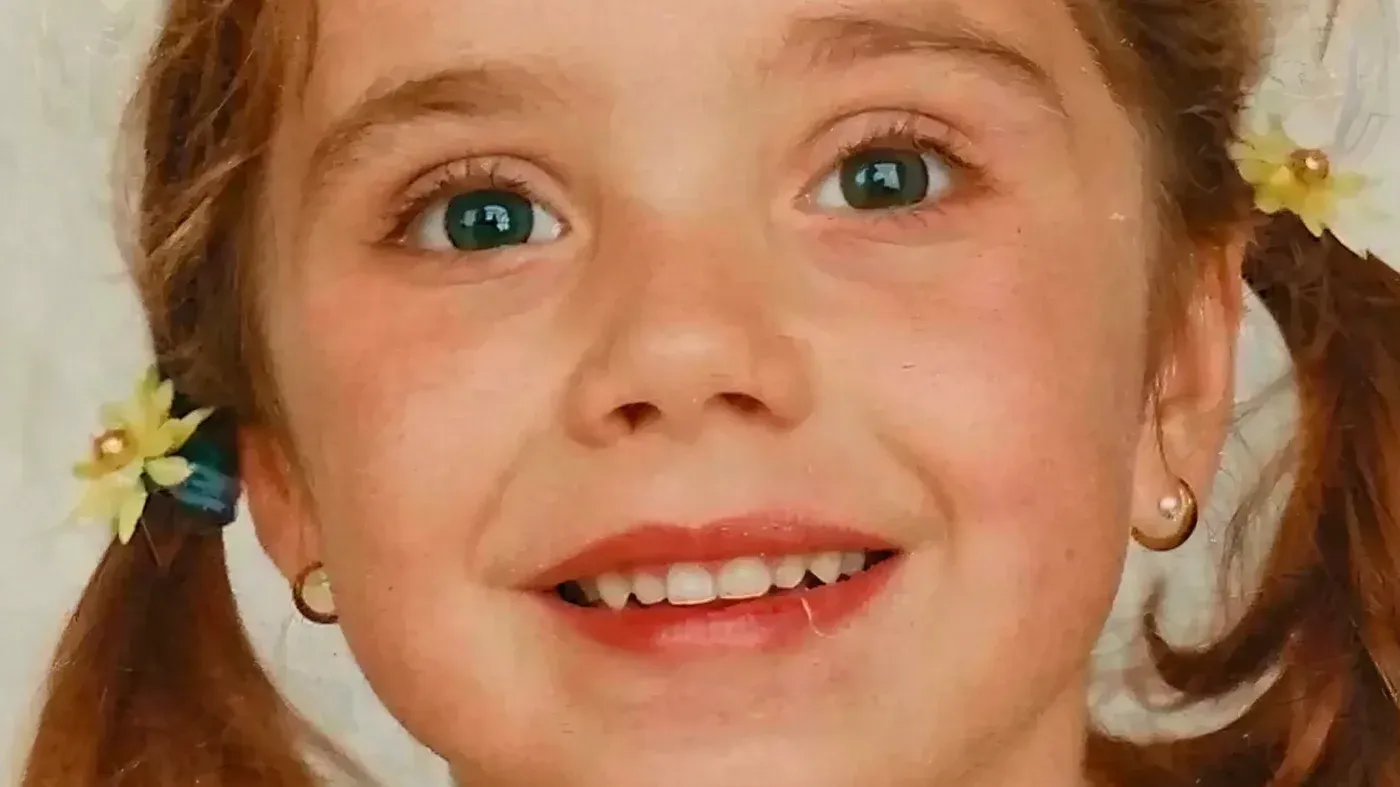
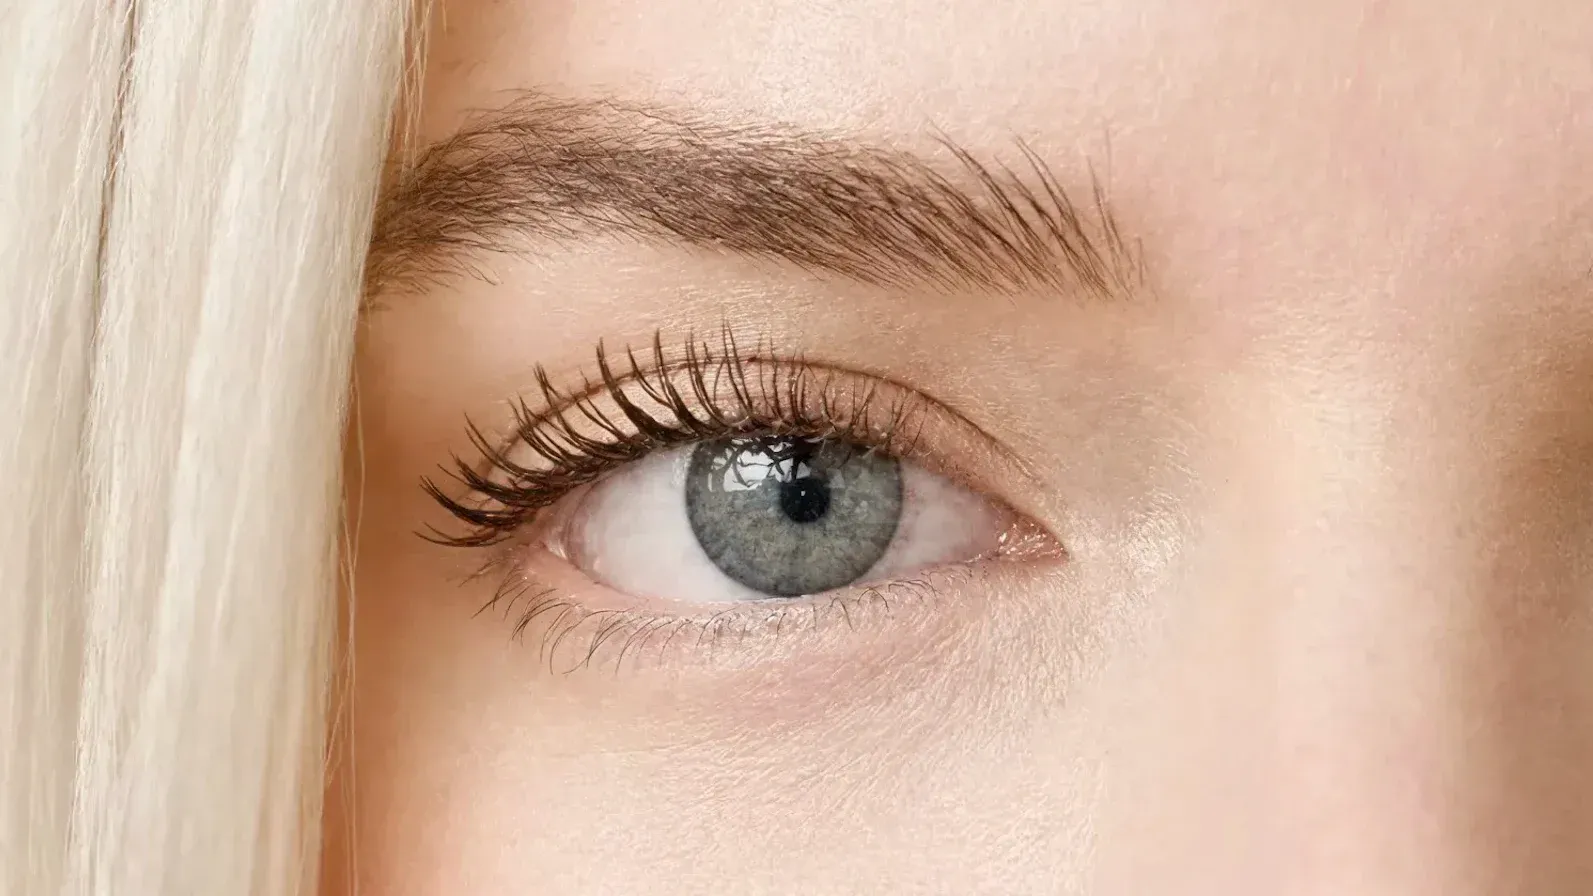
This photo has already been processed. On screen the frame is squeezed to the width of the page and the improvement is invisible — the loupe shows the result at 100%: skin texture, eyelashes, individual hairs. The original and the comparison are just below.

Portrait 686 × 386 px, ×10 upscale · loupe at ×3Move the cursor — the loupe follows
Portrait 686 × 386 px, ×10 upscale · loupe at ×3

No sharpening or noise reduction was added by hand: under the loupe the file is exactly what the model returned.

Before and after

How the AI improves photo quality

The slider moves: the original on the left, the result on the right. The button beside it opens the full size — where you can see the texture is real, not painted-on noise.

Skin, eyelashes, individual hairsOriginalAfter processing
PortraitSkin, eyelashes, individual hairscrop from the frame · original 686 × 386 px
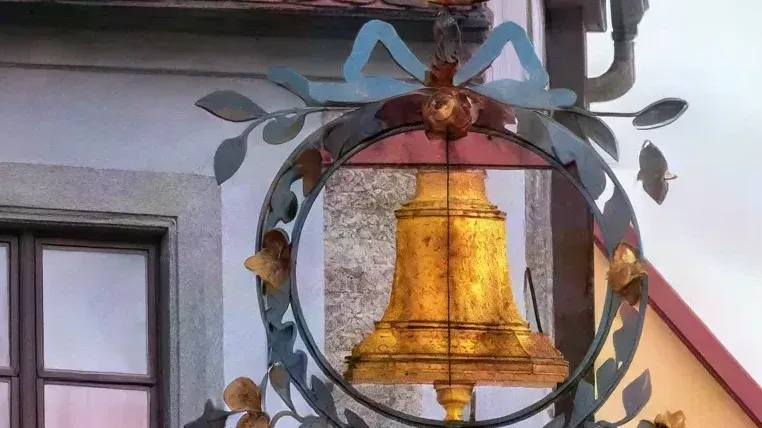
Ironwork, patina, plaster on the wallOriginalAfter processing
LandscapeIronwork, patina, plaster on the wallcrop from the frame · original 800 × 600 px
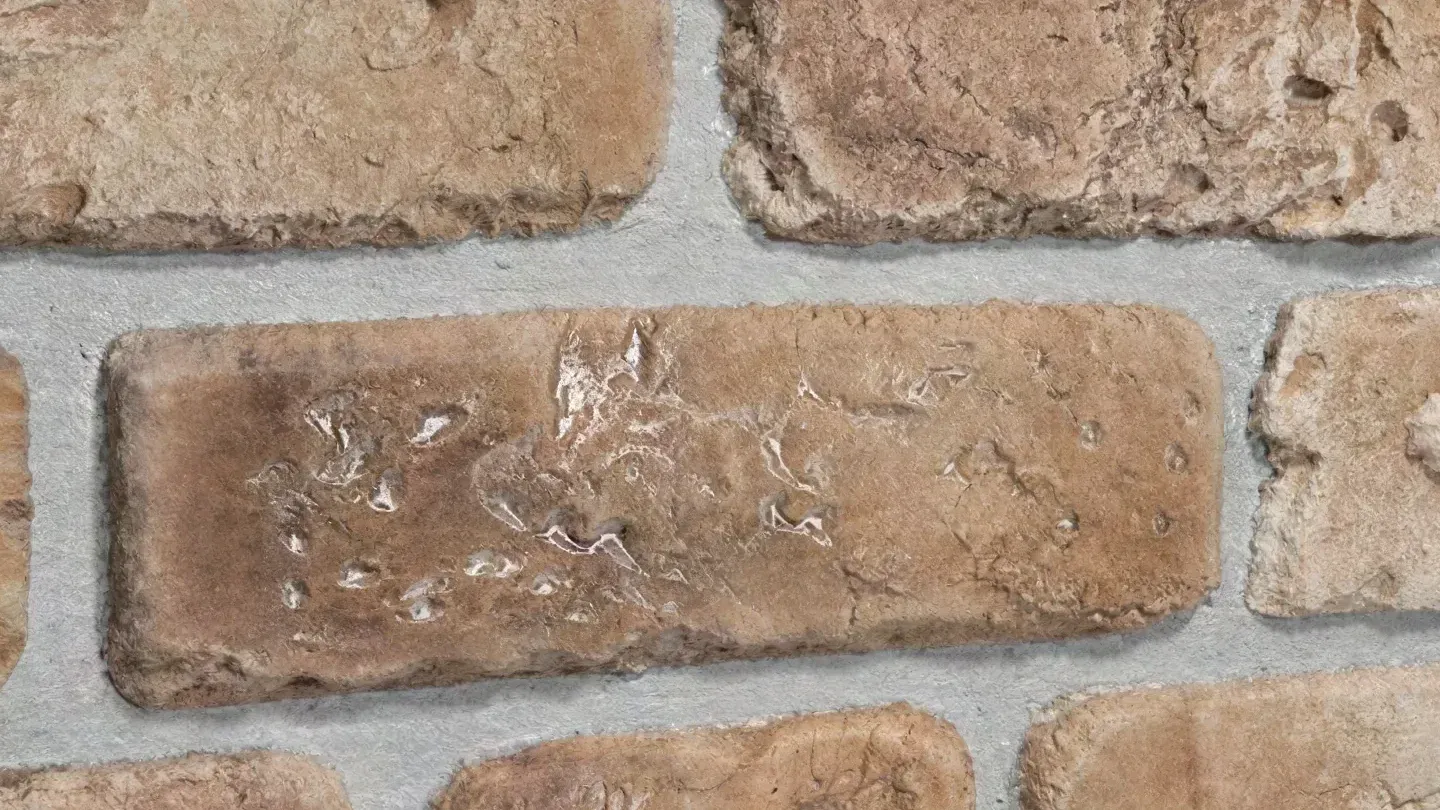
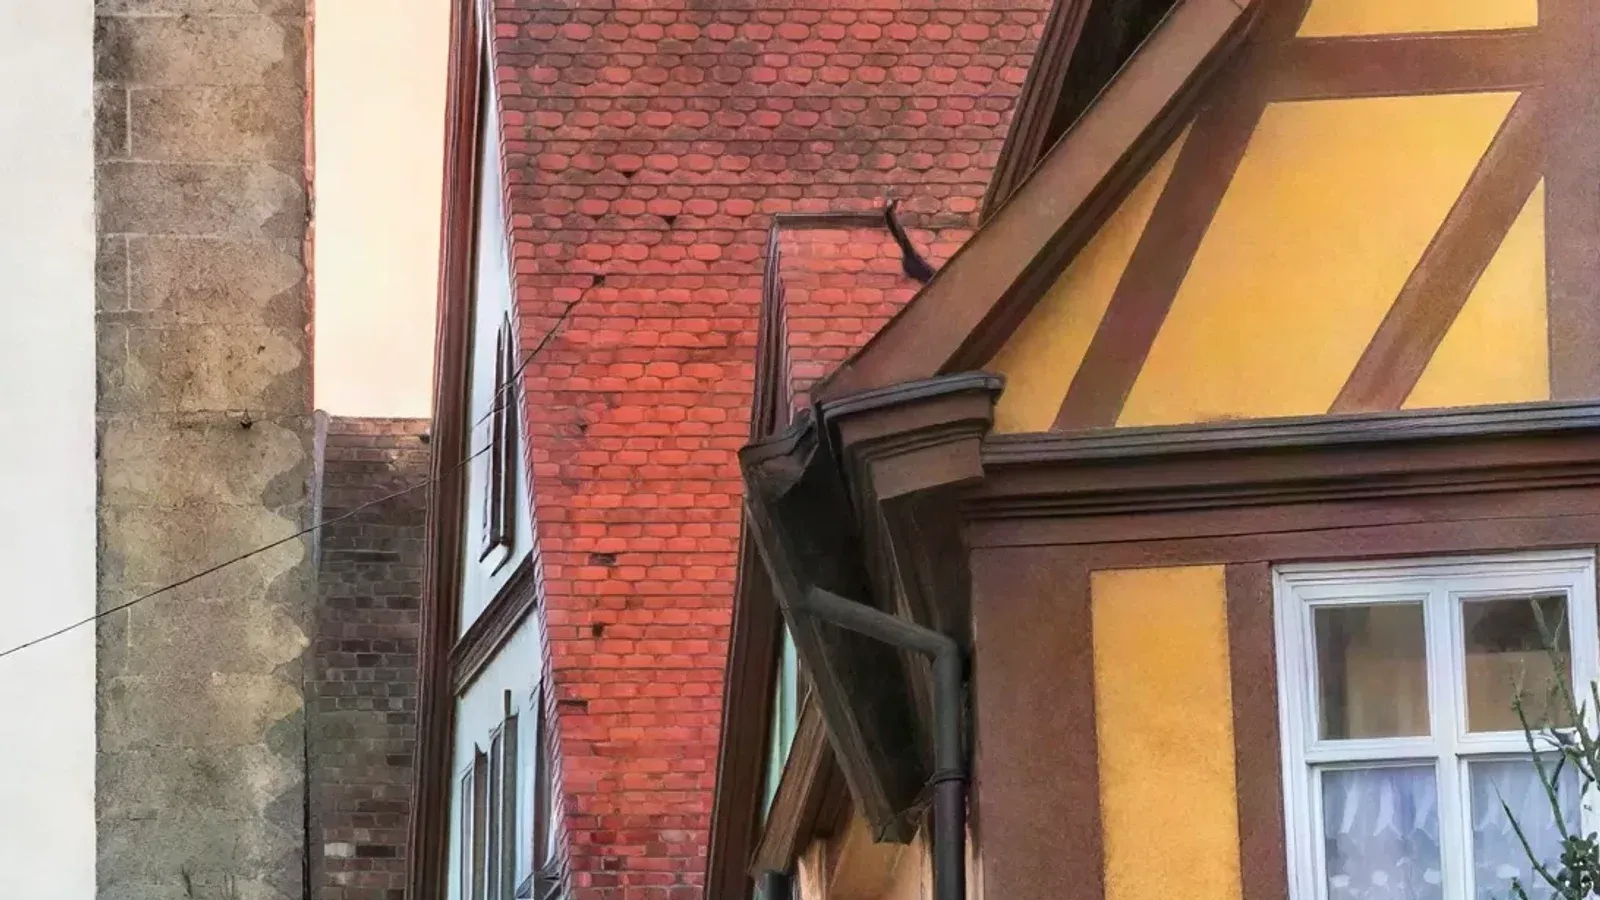
Brick, moulding, the grain of stoneOriginalAfter processing
ArchitectureBrick, moulding, the grain of stonecrop from the frame · original 360 × 260 px
A film frame after restoration*OriginalAfter processing
Old photoA film frame after restoration*crop from a scan · original 655 × 1024 px
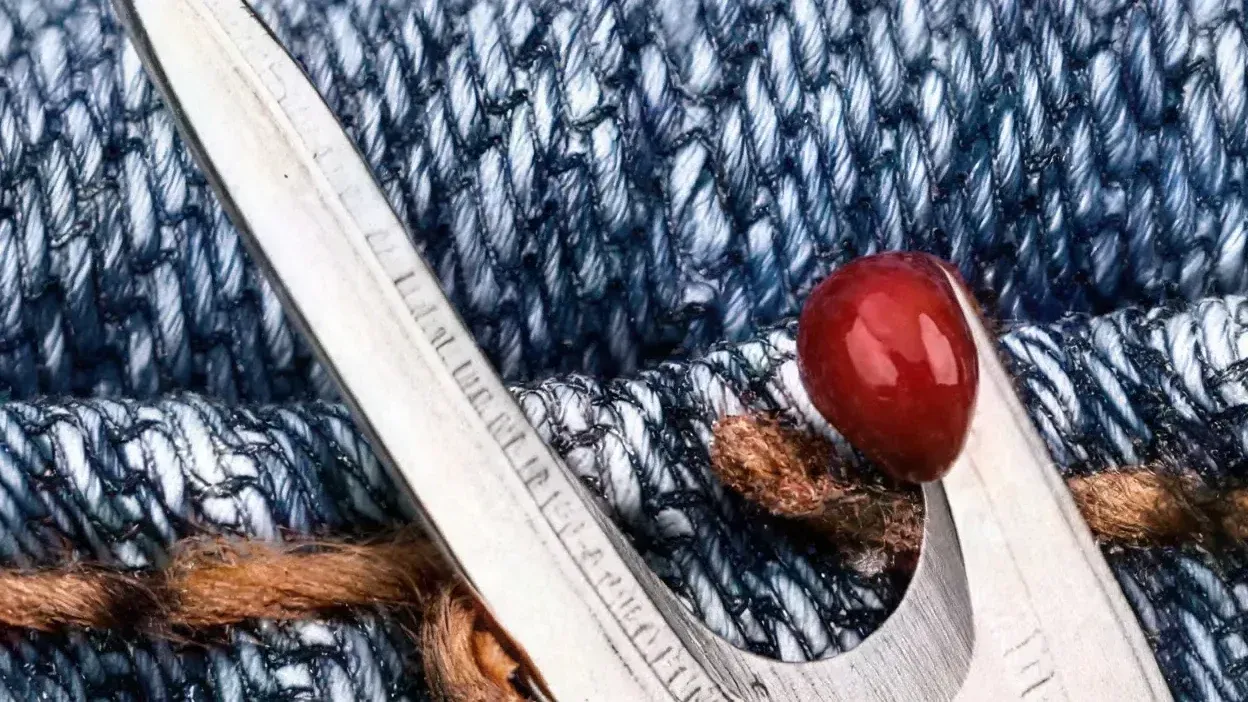
Denim weave, thread, metalOriginalAfter processing
ProductDenim weave, thread, metalcrop from the frame · original 800 × 486 px
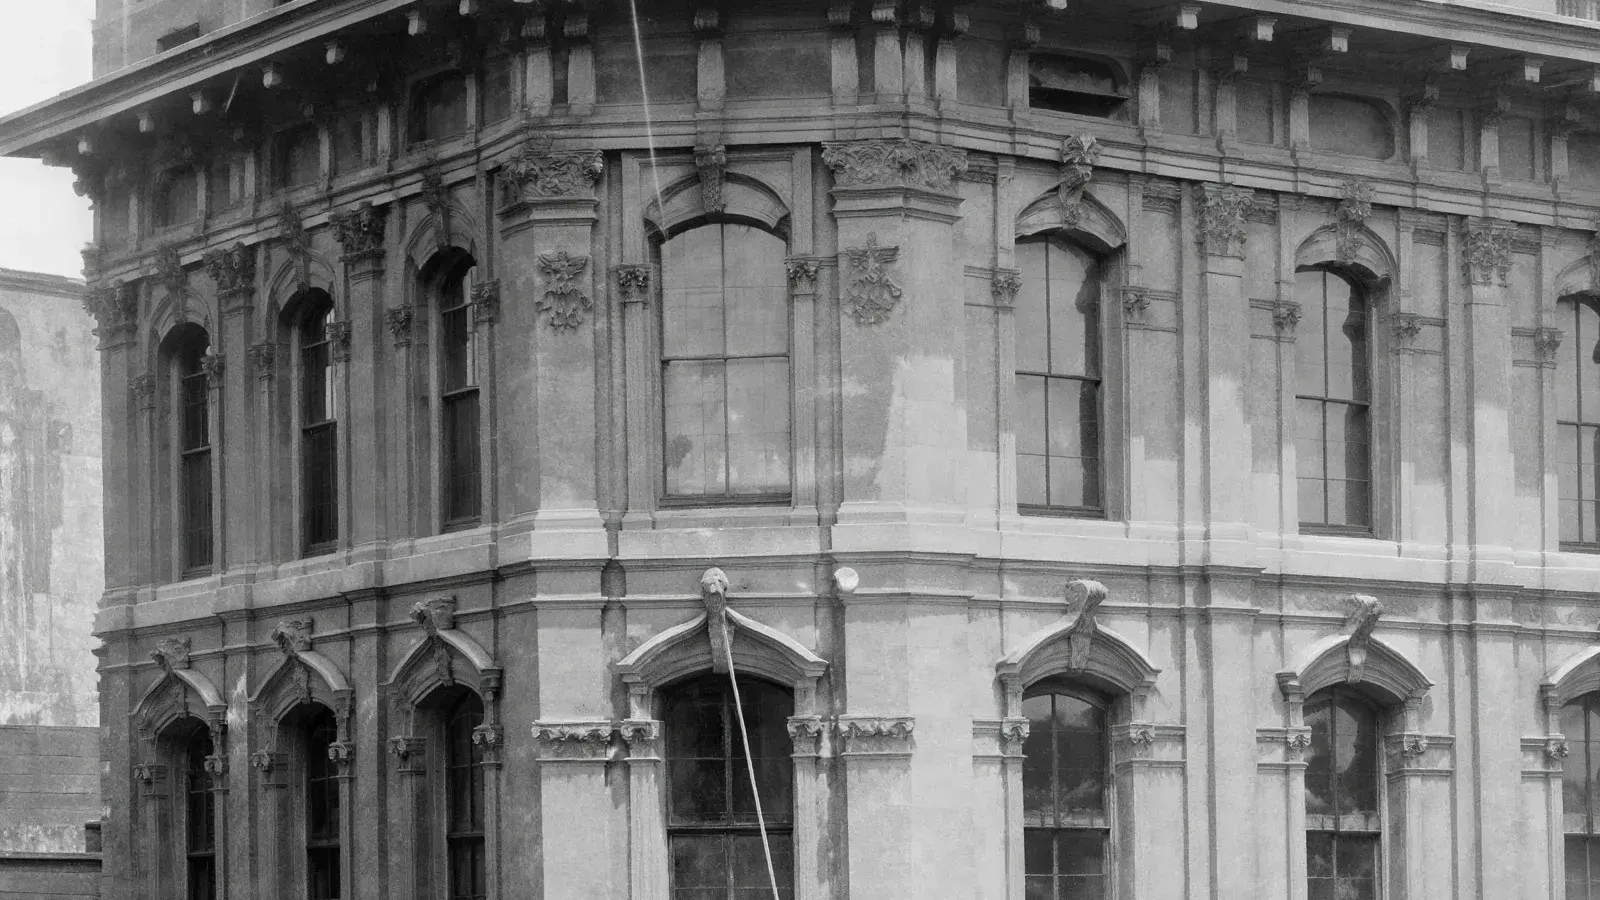
Arches, capitals and glass, 1880OriginalAfter processing
ArchiveArches, capitals and glass, 1880crop from a scan · original 348 × 400 px

Every example is the same model with no manual retouching: upload the file, take the result.

* Before upscaling we removed the cracks from this shot and brought its colour back in Grom Art — the upscaler only lifted quality and resolution. What Grom Art can do

100 MP
maximum output
×10
upscale per side
150 px
minimum on the shorter side
1 click
no presets, no sliders

How to improve photo quality online in three steps

It all happens in the browser: no programs to install, no plugins to hunt down.

Sign in to GPTunneL
One account for every model on the platform.

Sign in whichever way suits you.

How it works

Improving a photo is not the same as stretching it

Ordinary enlargement is honest about having no new detail: the algorithm averages neighbouring pixels and stretches them. The frame gets bigger, but no sharper — just mushier. That is what the "image size" slider in an editor does, and most "enlarge a photo" services online. A neural network works differently. It knows what skin, hair, fabric, wood, brick and type look like, and paints texture back in where the original had only a few pixels left. After processing you can study the shot up close — and print it at a size that was never on the table with the original. The flip side is honest too: the model does not invent what was never in the frame. A portrait will not appear out of a face ten pixels across — the model pulls detail out, it does not make it up.
What AI photo enhancement gives you

Sharpness and clarity in 10 seconds

Noise, softness and compression artefacts are cleaned up automatically, with no manual retouching and no settings. Upload the file, take the result.

Resolution up to 100 megapixels

Upscaling from ×2 to ×10 per side. A small picture from a messenger becomes a frame you would not be ashamed to print.

Any shot, old ones included

Portraits, landscapes, product photos, film scans and family archives. The model reads the structure of the frame and adapts its processing to the material.

In the browser, nothing to install

It all runs on our own infrastructure: our servers and leased capacity in data centres. Works from a browser, mobile connection included.

When people improve photo quality most often

Photos from a phone

Night shots and zoomed frames where the camera did not quite get there. The model brings detail back and clears sensor noise.

Old and film photographs

Scans from a family archive: restoration first, then upscaling — the order matters, see below.

Marketplace product cards

Amazon, Etsy and other platforms demand large images. An old product photo can be brought up to the required resolution.

Print and large format

A poster, a photo book, a banner. A 2 MP frame comes up to print quality, and no pixels show on paper.

Portraits and avatars

Skin, eyelashes and hair are genuinely drawn in, rather than smeared over by "smoothing".

Text in the picture

Small captions, signs and labels read better — though the result is worth checking against the original.

The input rule

Do not stretch the photo before uploading

The model works with what is really in the file. If the picture has already been enlarged in an editor, it holds no more detail — the model gets mush on the way in and carefully enlarges exactly that.

Give it the original as it is

The file straight from the camera, the scanner or the archive — at the size it was shot.

  1. Original 650 pxsmall, but sharp
  2. The modelsees real pixels
  3. A sharp 40 MP framethe texture is there
Do not enlarge it first

A resize in Photoshop, "enlarge four times" in a viewer, an upscale through another service — all of it breaks the pixel grid.

  1. Original 650 px
  2. Stretched to 2600 pxinterpolation: more pixels, no more detail
  3. The modeltakes the mush for texture
  4. Bigger mushsharpness does not come back

If the file has already been through a resize, put it back to its original size or find the original. That is the only preparation the model needs.

Old photographs

Improving an old photo: restoration comes first

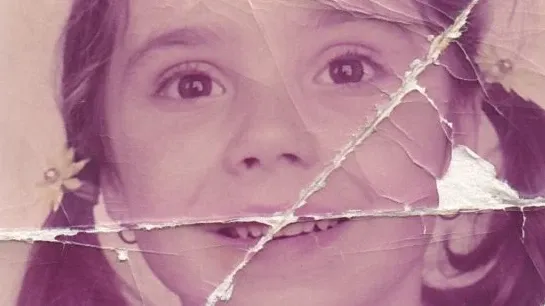
Cracks, creases and paper grain are texture to the model, exactly like skin. The upscaler will faithfully make them sharper: it does not see your grandmother, it sees a photograph of a print with all its injuries.

Straight from scan to upscale

The model improves everything it sees — including the paper the frame is lying on.

  1. A scan with crackscreases, scratches, paper grain
  2. The modeldamage is detail to it as well
  3. The cracks got sharperso did the face, but the shot is still torn
Grom Art first, then the upscale

Restoration removes the damage, upscaling lifts the resolution. The order matters.

  1. A scan with cracks
  2. Grom Art · prompt repair photoclears creases, scratches and stains
  3. The upscalerlifts resolution to print quality
  4. A clean 100 MP frameready to print and hang on the wall

The same rule holds for screenshots and over-compressed JPEGs: clear the artefacts first, enlarge second.

Requirements

What the model expects on the way in

From 150 px on the shorter side

Below that there is nothing to hold on to. More is better: the more honest the original, the stronger the result.

JPG, PNG, WebP, GIF, AVIF

Ordinary files straight from a camera, a phone or a scanner, up to 100 MB — nothing needs converting.

Upscale from ×2 to ×10

You pick the factor in one click; the ceiling on the result is 100 megapixels.

One click

No presets, no noise-reduction sliders: upload the file, take the result without watermarks.

Comparison

Compared with Topaz on the same original

The same file went through two upscalers. Topaz is softer: fine texture — cobblestones, a shop window, branches — blurs into patches and loses detail. And the worse the original, the more often Topaz pushes the picture into plastic: skin, wood and stone come out smooth and cartoonish.

A street: cobblestones, a shop window, greeneryTopazOur model
Head to headA street: cobblestones, a shop window, greenerycrop from the frame · both results from one original

The slider moves: Topaz on the left, our result on the right. The links open both files in full — judge for yourself rather than taking our word for it.

What improving photo quality costs

The rate is simple: $0.005 per megapixel of the result, rounded up. You pay for the processing, not for the right to use a program: there are no subscriptions, licences or monthly fees — you top up one GPTunneL balance and spend it on any model on the platform.

What goes inUpscaleResultPrice
An avatar 500 × 500 px×44 MP≈$0.02
A frame 1920 × 1080 px×28.3 MP — that is 4K≈$0.04
A scan 800 × 600 px×617 MP≈$0.09
A phone photo 4000 × 3000 px×248 MP≈$0.24

The figures in the table are calculated at the base rate as of 12 August 2026. The current price list and your personal loyalty discount are shown in your account; the full list lives on the pricing page.

Frequently asked questions

We have no free tier, and we are not going to promise one. What we also do not have is a subscription: you pay only for the frames you process, $0.005 per megapixel of the result. Improving an avatar costs about two cents.

Improve your photo quality right now

Grom models, 200+ neural networks and ready-made AI products. One balance, no subscriptions.

  • Pay per processing at the platform price list
  • No subscription, no licence, nothing to install
  • Local payment methods, one shared balance